If you’ve ever wondered how people end up on stage speaking at conferences, this article is for you. I’m going to describe the different steps and share some tips & tricks to increase your odds of success. These are lessons I learned over the past 10 years of successfully giving 50+ talks on all continents.

- Finding the right conference
The first thing to know about conferences is that they are planned months in advance, and speakers are typically selected at least a few months before the event. As a result, your first step when looking for a conference to speak at is to determine when it will take place. If it’s next month, it’s most likely too late to apply to speak. Most conferences select their speakers four months to a year before the event!
To find such events, you can use AI, Google search, or aggregators such as Papercall, Sessionize (you need to create a speaker account first – it’s free), and developer.events.
Once you find an event, the next important thing is the CFP process.
- Find the CFP (Call for Papers) dates
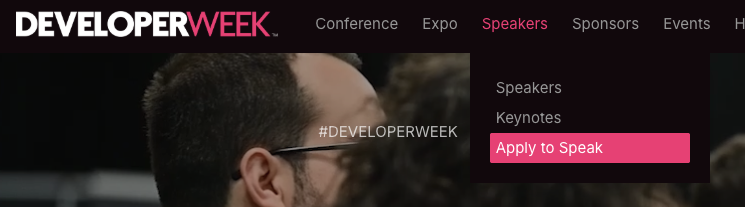
The call for papers (CFP – sometimes Request for Papers – RFP) process is how anyone can apply to speak at a conference. This information is always available on the conference website at some point, usually under a “Speakers” or “CFP” menu:
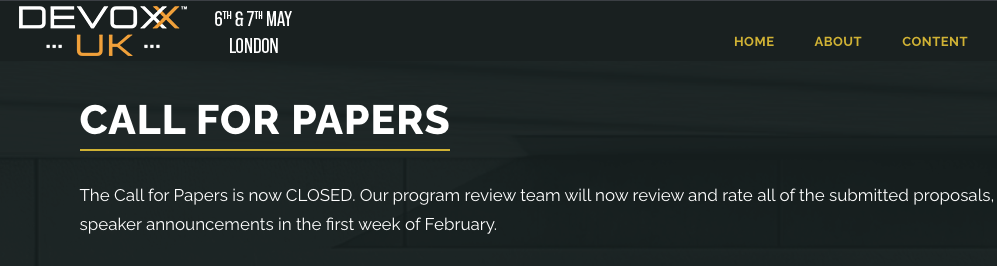
If you can’t find it, it means you’re too early or too late. The next thing to know about CFPs is that they have a start date and a closing date, which sometimes leave only a short window of time (a month or two) to apply. This is why knowing the dates is crucial: I’ve missed so many conferences when I started public speaking because I missed the CFP dates… Most of the time, you’ll find something like this on the conference website:
I check CFP dates for events I want to speak at once a month. Another option is to contact the organizers, as contact info is always available on conference websites, but don’t expect an answer: they receive tons of messages and tend not to check their email inboxes before a CFP starts.
Another key piece of information in the CFP is whether the conference covers your travel and hotel expenses for the event. Most conferences do, others don’t, so make sure you have that information before applying.
3. Apply to speak
Once the CFP for the event is open, you can apply to speak! Most conferences allow you to submit several ideas, but their submission process often requires repeating the same information for each submission (your name, bio, location, etc.), which is painful.
As a result, I have a document where I keep everything conferences typically ask for, so I can copy and paste that info and save lots of time:
- My speaker bio
- Speaker headshot
- List of public talks I did that are on Youtube
- My list of all previous conference talks
Note that websites like Sessionize allow you to store all that info, as well as your talk ideas, so you can reuse it and apply it to other events quickly.
Here are some suggestions for successful conference applications:
- Make sure you submit talks that are in line with what the conference already does, but not exactly the same topics as in previous events
- Submit 3 to 5 different talk ideas, not just one (90% of applicants submit just one talk)
- You will get rejected over and over again. In my first few years as a speaker, I learned I was selected to speak at about 60% of events, so if I wanted to speak at six conferences per year, I’d apply to 10 events.
- If you’re a new speaker, don’t compete with star speakers who speak at the event every year. Pick a talk duration or format that is uncommon and unlikely to be selected by the “famous” speakers. For instance, if the main talk is 30 minutes but the conference allows 5-minute lightning talks, choose the lightning talks for your first applications. You’ll have less competition!
4. Wait for the result
Once you’ve submitted your talks, wait for the selection committee to make their choice. Again, expect to be rejected quite a bit; that’s perfectly fine, and even veterans like me get rejected several times per year.
5. Prep your content
This is the “easiest” part, in that it’s fully under our control at that point: we can create our content and get ready to deliver it on stage!
If you have any questions or if I missed anything, please let me know, and I’ll update this tutorial with more information.