I have collected hundreds of quotes over the years for inspiration. I wanted to share a few of these and my comments on how these quotes help me shape my business and design my lifestyle.
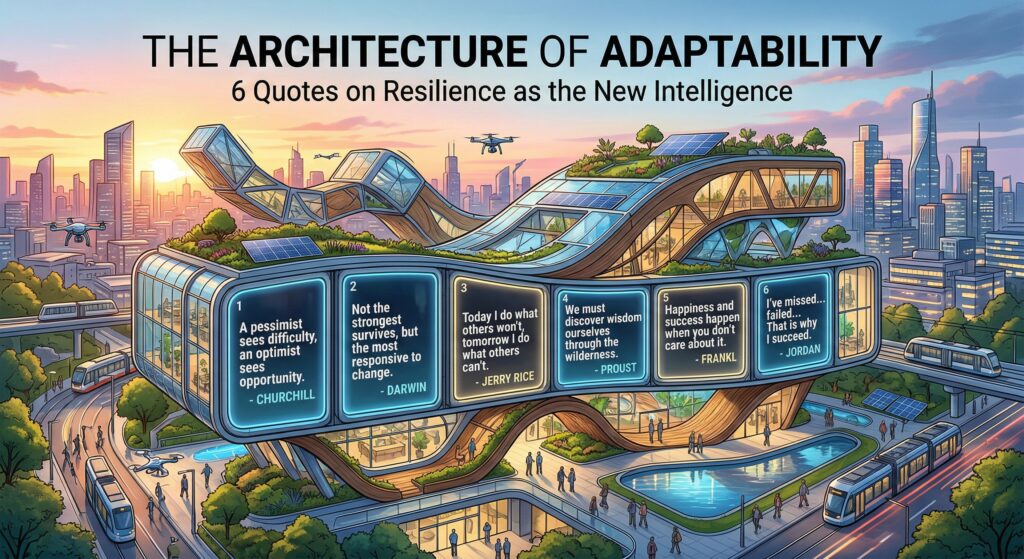
“We are not provided with wisdom; we must discover it ourselves, after a journey through the wilderness which no one else can take for us.”
Marcel Proust
We can read all the books, listen to every single podcast, watch every single documentary or YouTube video: This doesn’t change us. We only learn by doing – and failing. We have to practice and tumble to absorb the wisdom of all that content. How many times have I tried something and failed, only to remember a piece of wisdom from a book that had warned me about that mistake? “Now I get it – that’s what they meant in that book“. We only learn from our own journey – and mistakes.
“It is not the strongest of the species that survives, nor the most intelligent, but the one most responsive to change”
Charles Darwin
This is more true than ever. With the advent of AI, things change all the time. I’ve seen so many companies die in recent years because they failed to adapt and change their business model. Sears didn’t respond to Amazon, and they are gone, like many others. My business has gone through at least 4 major pivots in the last twelve years, and I’ll need to pivot again soon if I want to keep going.
“I’ve missed more than 9,000 shots in my career. I’ve lost almost 300 games. 26 times, I’ve been trusted to take the game-winning shot and missed. I’ve failed over and over and over again in my life. And that is why I succeed.”
Michael Jordan
This classic quote from Jordan says it all. Success isn’t linear. It’s all about trying, over and over again, no matter the outcome: persistence, resilience, and not giving up when things go wrong. The process is humbling, and what makes the difference is resilience.
“Happiness must happen, and the same holds for success: you have to let it happen by not caring about it.”
Viktor E. Frankl
This is one of my favorite tricks for carrying on no matter the outcome. If I write a piece of content, I forget about it as soon as I hit publish. I don’t care whether 5 or 5,000 people end up reading it. I don’t worry about statistics. I don’t care much about likes, followers, reshares, and such. I keep going, do the work, and focus on quality. I wasn’t always like this, but I realized that when I cared too much about numbers, I was more inclined to give up or change my approach before giving it any chance to succeed.
I’m still surprised when people recognize me at conferences and come up to thank me for what I do, because I never expected it, and that’s why it happened and keeps happening. Frankl’s quote actually goes on like so: “I want you to listen to what your conscience commands you to do and go on to carry it out to the best of your knowledge. Then you will live to see that in the long-run – in the long-run, I say! – Success will follow you precisely because you had forgotten to think about it.”
“A pessimist sees the difficulty in every opportunity, while an optimist sees the opportunity in every difficulty”
Winston Churchill
That one is actually hanging in my office right next to me, so I get reminded about it every day – it’s a little bit like seeing the glass half-full rather than half-empty:
Is AI going to destroy my current business offering? Most likely yes, so I need to embrace it and use that as an opportunity to pivot and offer something different. Change is an opportunity to learn and grow. This quote ties so nicely with the previous ones: Adapt to survive, make mistakes to learn, and then succeed. As Ryan Holiday puts it, the Obstacle is the way.
“Today I will do what others won’t, so tomorrow I can do what others can’t.”
Jerry Rice
Kevin Costner has a variation of that quote: “Being an entrepreneur is being willing to do a job that nobody else wants to do, in order to be able to live the rest of your life doing whatever you want to do“. The idea is the same. Nobody wants to feel the pain of failure, so most people won’t even try. Yet we must try, as this is how we pave our way to success.